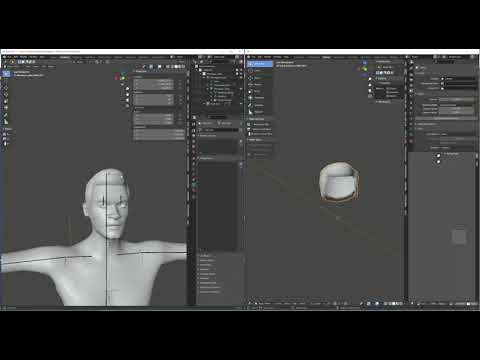
How to upload and attach hair to your MakeAvatar™ model.
In this video I will show you the basic steps in downloading a hair model, preparing it in Blender, exporting it and attaching it to your MakeAvatar model. Please Subscribe as I will be adding more video on how to add content… Don’t forget to give me a thumbs-up if you liked the video. Any encouragement helps. Mind you… turn down your volume at the end…
NOTE: You will name the hair Avatar_Hair, the eyebrows Avatar_Eyebrows and eyelashes should be named as Avatar Eyelashes. Facial hair should be named Avatar_Facial_Hair. This is absolute and failing to name the hair assets properly will not allow you to import them.
MakeAvatar https://bit.ly/3CJN4Fg
We’re in the open… https://Overte.org
Tags: Blender, Metaverse, Vircadia, HighFidelity, Hair
Model being used… CC0 from opengameart.org https://tinyurl.com/pamzsurc
Make sure you are using Blender 2.9+
- In the fist screen drag and drop the upcomb hair model into Blender or open it using the file menu.
- Ensure the Shading Tab is enabled
Top + → General → Shading - Click on the Default Tab and select the hair model
- Click on the Shading Tab
- Click Use Nodes. It will add the Principled BSDF Shader
- Click Add → Input → Texture Coordinate
- Click Add → Texture → Image Texture
- From the Texture Coordinate not connect the UV output to the Vector input on the Image Texture node.
- From the Image Texture node connect the Color output to the corresponding input on the Pincipled BSDF node.
- Click Open on the Image Texture node and select the hair texture.
- From the Principled BSDF node set all options to zero but “Roughnes” which you will set to 1.
- Open the male mannequin in another Blender 7.9 window
- Copy and paste the hair model from the one window to the mannequin window.
- Rename the hair model Avatar_Hair
- Select the wearable
- Shift select the rig
- Ctrl + P to Set parent → With Empty Groups
- Select Manniquin_Body
- Click on Object Data Properties
- Shift select wearable
- Enter Weight Paint Mode
- In the 3D view pane select Weights → Transfer Weights
- You will notice an option at the bottom left of your screen → Transfer Mesh Data
- Click the down arrow and change “Source Layers Selection” → By Name
- Select the entire model with hair and rigging.
- Select Scene Property → Units → and change Scale to .05
- Ensure Gltf Addon is enabled
Edit → Properties → Addons
Search gltf
Check to enable addon - Click File → Export → Gltf
- On the right side of the export window change the format to “gLTF Binrar (.glb)”
- Press the “Export gLTF 2.0” button.